
Tip & Trick
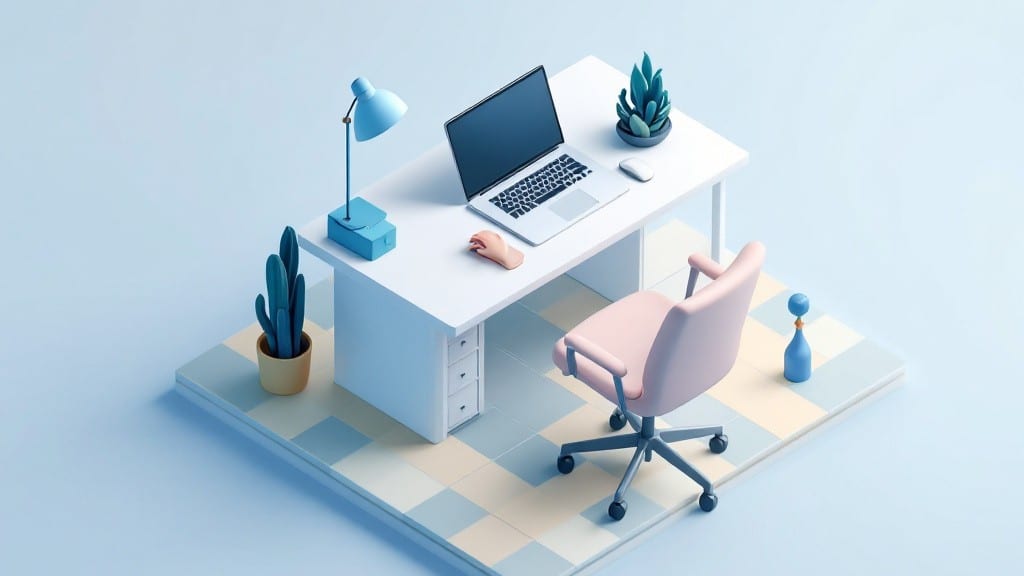
Setting up an ergonomic workstation isn’t just about buying fancy gear—it’s about creating a space that finally stops your back from screaming after eight hours.
I’ve spent years watching people slouch at their desks, only to end up with shoulder tension or wrist pain by noon, and the fix is simpler than most assume. The key isn’t spending hundreds on equipment; it’s positioning what you already have correctly.
My own setup went from a stiff-necked mess to comfortable enough that I forget I’m sitting most days.
Start with your monitor: the top should sit at or just below eye level, about an arm’s length away. Use a stack of books or a riser if your desk is too low—no need for expensive stands yet.
Your keyboard should sit close enough that your shoulders stay relaxed, with your elbows at 90 degrees and wrists straight. If your chair’s too high, your feet should hang off the floor with knees bent at 90 degrees; if it’s too low, grab a footrest from a thrift store.
Software can help too: tools like Stretchly remind you to take breaks every 20 minutes, and your OS’s built-in brightness controls should match your room lighting to avoid eye strain.
You’ll notice the difference immediately—less hunching, fewer aches, and the ability to work longer without fatigue. The setup takes about 15 minutes, and I’ve documented the exact measurements in my guide, including where to adjust if you’re using a laptop instead of a tower.
Even small tweaks like swapping your mouse for an ergonomic one or adding a wrist rest can make a world of difference. Trust me, your future self will thank you when you’re not massaging your neck at midnight.
This works for home offices, co-working spaces, or even that corner of your kitchen table where you’ve been typing for the last six months. The principles are the same: align your body with your tools, and let the tech adapt to you instead of the other way around.
I’ll walk you through the exact steps next, including how to spot common mistakes before they turn into chronic pain.
📚 In This Guide
- What you need
- Instructions
- Tips and common mistakes
- Wrapping up and next steps
What you need
- ● Adjustable chair: With lumbar support, armrests, and height adjustment (look for ergonomic mesh or breathable fabric for comfort).
- ● Desk: Height-adjustable (28"–30" from floor to surface) or a standing desk converter (minimum 29"–30" for standing).
- ● Monitor: 19"–24" screen (or dual monitors if possible) with VESA mount for adjustable height.
- ● Keyboard & mouse: Ergonomic or split design (e.g., vertical mouse or wrist rests).
- ● Monitor arm or stand: Adjustable height (20"–34" from floor) to align with eye level.
- ○ Footrest: Optional but helpful (or stack books under feet in a pinch!).
- ● Blue light glasses: To reduce eye strain (especially for screen-heavy tasks).
- ● Anti-fatigue mat: For standing desks (cushioned, ~24"x36").
- ● Laptop stand: If using a laptop (elevates screen to eye level).
- ● Document holder: Clip-on or stand-alone to keep papers at eye level.
- ● Desk organizer: For cables, pens, or small accessories (keeps clutter away!).
- ● Posture corrector: Temporary tool for retraining muscles (e.g., lumbar roll).
- ● Humidifier/air purifier: Reduces dry air and dust (great for long workdays!).
Step-by-Step instructions for creating an ergonomic workstation
Here’s how to build a comfortable, pain-free workspace in record time.
Position Your Chair Correctly
Start by adjusting your chair height so your feet rest flat on the floor with knees bent at a 90-degree angle. If your feet don’t touch, use a footrest or stack a few sturdy books under your feet—this prevents pressure on your thighs. The chair back should support your lower back naturally, so slide forward until you feel contact at the small of your back.
Next, adjust the armrests so your shoulders stay relaxed. Elbows should bend at about 90 degrees when typing, with your wrists straight—not bent up or down. If your chair lacks adjustable armrests, consider adding a cushioned pad to reduce strain. Test the setup by sitting for 30 seconds—if you feel tension anywhere, readjust.
Align Your Monitor for Eye Comfort
Place the top of your monitor about 2-3 inches below eye level when seated. This keeps your neck in a neutral position instead of craning upward. If your desk is too low, stack a few books or use a monitor stand to elevate it. The screen should be 20-30 inches away from your eyes—any closer and your eyes will strain, any farther and you’ll hunch forward.
Glare is the silent posture killer, so position your monitor perpendicular to windows. If that’s not possible, use a matte screen filter or adjust your lighting to reduce reflections. Take a moment to glance at your screen from the sides—if you see glare, tweak the angle slightly. Your eyes should feel relaxed after 5 minutes of typing.
Organize Your Keyboard and Mouse for Neutral Wrists
Your keyboard should sit close enough that your shoulders stay relaxed when reaching for the edges. If it’s too far, your arms will drift forward, causing shoulder tension. A wrist rest (if used) should only support your wrists briefly—never while typing, as that can promote awkward angles. Instead, keep your wrists straight and slightly elevated with a soft pad or the edge of your desk.
Place your mouse within easy reach of your keyboard, ideally on the same surface. If you use a vertical mouse, adjust it so your forearm stays straight and your elbow remains close to your body. Test by typing for 2 minutes—if your wrists or shoulders feel fatigued, reposition everything slightly. A trackball can also reduce shoulder strain if you frequently move the mouse.
Adjust Lighting and Reduce Glare
Position your primary light source (like a desk lamp) to the side of your monitor, not directly in front of it. This prevents shadows on your screen while keeping your face evenly lit. If possible, use warm-white LED bulbs (2700K-3000K)—they’re gentler on the eyes than cool tones. Avoid overhead lighting that creates harsh shadows on your workspace.
If glare is still an issue, try an anti-glare screen protector on your monitor or dim ambient lights slightly. Take a quick glance around—if you see reflections on your screen from windows or lights, angle your monitor or add a sheer curtain to diffuse the light. Your eyes should feel less tired after 10 minutes of focused work.
Test and Fine-Tune Your Setup
Sit at your new workstation and perform a simple typing task for 5 minutes. Pay attention to any discomfort—tight shoulders, aching wrists, or neck strain. If you notice tension, make small adjustments: raise the chair slightly, move the monitor closer, or reposition the keyboard. Ergonomics is about balance, not perfection.
For long sessions, set a timer to stand and stretch every 30 minutes. Even small movements—like rolling your shoulders or stretching your wrists—prevent stiffness. If possible, alternate between sitting and standing (using a height-adjustable desk if available). After an hour, reassess your setup: you should feel minimal strain, even after prolonged use.
Tips & tricks for perfect ergonomic workstation setup
Small adjustments make all the difference when it comes to creating a workspace that actually feels good to use for hours. Here's what I've learned from setting up dozens of workstations over the years.
The 30-Second Test: Don't rush the initial chair setup in Step 1. That 30-second test period is your chance to catch subtle discomfort before it becomes a chronic issue. Pay special attention to your lower back - if you feel any pressure there after 30 seconds, you need to slide forward slightly or adjust the chair's lumbar support. This is where most people make their first mistake - they think they're fine until they've been sitting for hours.
Monitor Height Hack: When positioning your monitor in Step 2, use a small stack of books or a sturdy box to create a temporary stand while you test the 2-3 inch eye-level position. This lets you adjust precisely without needing to buy equipment right away. I've seen people strain their necks for years just because they didn't want to invest in a monitor stand. Pro tip: The top of your monitor should align with your eyebrows, not your eyes.
Keyboard and Mouse Ergonomics: In Step 3, if you find your shoulders creeping forward after 2 minutes of typing, your keyboard is too far away. The ideal distance should let you type with your arms hanging naturally at your sides - no reaching. For mice, try placing it closer to your body than your keyboard. Many people position it too far away, forcing shoulder rotation that leads to pain over time. A trackball can be a game-changer if you do a lot of clicking.
Lighting and Glare Strategy: The 10-minute eye comfort check in Step 4 is actually more about lighting than just glare. Position your desk lamp so it illuminates your workspace evenly without casting shadows on your screen. I recommend placing it to the side at about a 45-degree angle - this creates the most even lighting while minimizing reflections. If you're still seeing glare after adjusting, try moving your monitor slightly to the side rather than just adding more filters.
Pro Tips for Set Up Ergonomic Workstation
- Small adjustments make all the difference when it comes to creating a workspace that actually feels good to use for hours.
- The 30-Second Test: Don't rush the initial chair setup in Step 1.
- Monitor Height Hack: When positioning your monitor in Step 2, use a small stack of books or a sturdy box to create a temporary stand while you test the 2-3 inch eye-level position.
Frequently asked questions
Got questions about setting up your ergonomic workstation? You’re not alone! Here are some of the most common concerns—and quick, actionable answers to help you get started without the hassle.
How much does an ergonomic workstation setup cost?
A basic setup can cost $50–$200 if you repurpose what you already own (like stacking books for wrist support or using a sturdy box as a footrest). For a full upgrade, expect $300–$800 for chairs, monitors, and accessories. Pro tip: Start with small, affordable tweaks (like a lumbar pillow or adjustable laptop stand) to test what works before investing in big-ticket items.
How long does it take to adjust my workstation ergonomically?
With the right tools, you can customize your setup in 10–15 minutes—that’s why this guide is designed for speed! If you’re DIY-ing (e.g., using household items), it might take 20–30 minutes. Remember: Even small adjustments (like raising your monitor or adding a wrist rest) can make a big difference in comfort after just a few hours.
What if I don’t have a desk chair?
Can I still set up an ergonomic workstation?
Absolutely!
If you’re deskless (e.g., standing or using a counter), try these swaps:
- Use a stable, cushioned stool (like a bar stool with a backrest) for seated breaks.
- Stand on a non-slip mat (like a yoga mat) to reduce joint stress.
- Swap your laptop for a tablet or e-reader to avoid neck strain.
Why does my neck hurt after adjusting my monitor height?
This usually happens when your screen is too high or too low. The top of your monitor should align with your eyes when seated upright. If you’re still sore:
- Check your seat height—feet should rest flat, knees at 90°.
- Take a 20-20-20 break (every 20 mins, look 20 feet away for 20 sec).
- Adjust your armrests so elbows stay at 90°—shoulders shouldn’t hunch.
Can I make an ergonomic workstation work in a small apartment?
Yes—and creatively! Small spaces thrive on multi-functionality. Try:
- A wall-mounted foldable desk that tucks away when not in use.
- An under-desk treadmill (for active sitting) or a swivel chair to save floor space.
- Stackable monitor arms to free up desk real estate.
Wrapping up and next steps
Creating an ergonomic workstation doesn’t have to be complicated—just intentional! By prioritizing proper chair height, monitor alignment, keyboard placement, and movement breaks, you’ve taken a huge step toward pain-free productivity and long-term comfort. 🎉
Now that your workspace is optimized, why not take it further? Try scheduling a quick posture check every hour or investing in a standing desk converter for extra flexibility. Your body will thank you!