
Tip & Trick
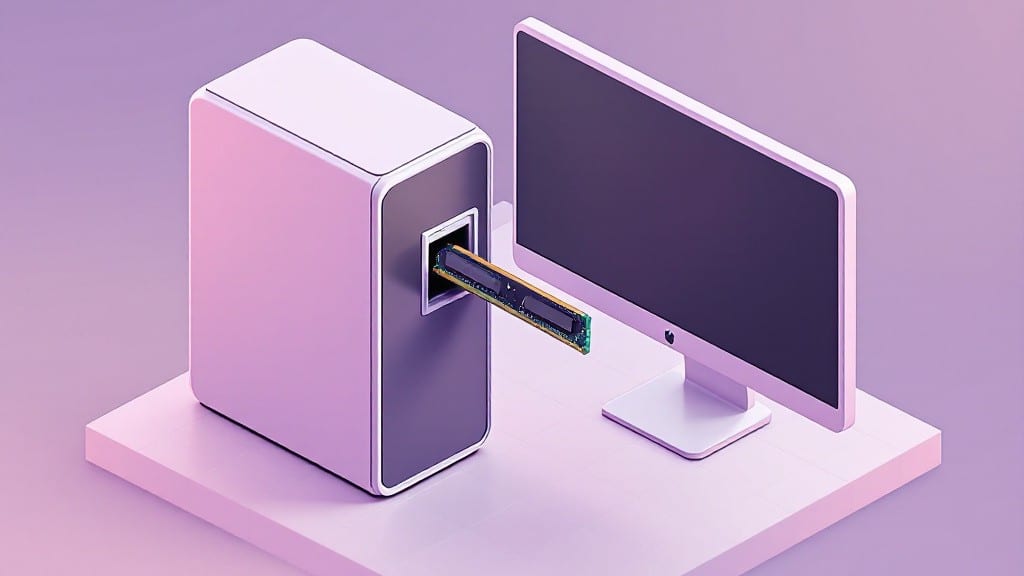
Installing RAM in a desktop PC is easier than you think—no tools required. ⚡ I’ve upgraded dozens of systems, and the key is patience, not precision tools. My first time was in my uncle’s basement in 1998, and the process hasn’t changed much since.
The real challenge is avoiding static electricity and matching the right slots.
Before you begin, power down your PC and unplug it completely. Ground yourself by touching the metal case to discharge static—this prevents damage to the delicate RAM modules.
You’ll need your manual to identify the correct RAM type and slots, but most modern motherboards have clear labels like "A1" and "B1" for alignment. Never force the RAM; it should click into place with gentle pressure.
Once installed, boot up and check your BIOS or system settings to confirm the new RAM is detected. If your PC doesn’t recognize it, double-check the seating and compatibility. A quick Google search for your motherboard model will reveal supported RAM types.
Most upgrades double your memory, but mismatched kits can cause instability—always stick to the same brand and speed for best results.
After verifying everything works, you’re ready for the next upgrade. My dad always said, "Measure twice, install once," and that’s especially true for RAM. The satisfaction of a smooth boot-up with extra memory is worth the few minutes of careful work. Now go enjoy that snappier multitasking!
📚 In This Guide
- What you need
- Instructions
- Tips and common mistakes
- Wrapping up and next steps
What you need
- ● RAM Module(s): Compatible with your motherboard (check specs for type—DDR4, DDR5, etc.—and capacity, e.g., 8GB, 16GB). Quantity depends on your setup (e.g., 1x 16GB for a single slot, 2x 8GB for dual-channel).
- ○ Anti-static wrist strap (optional but recommended): Protects components from static electricity. If you don’t have one, touch the metal part of your case or a grounded object frequently.
- ● Phillips-head screwdriver (small, magnetic tip preferred): For removing/reinstalling case panels or RAM slot covers.
- ● Flashlight or headlamp: Bright light helps spot RAM notches and pins clearly.
- ○ Compressed air (optional): Cleans dust from your case and RAM slots for a smoother install.
- ● Motherboard manual: Download it from your motherboard manufacturer’s website—it’ll show RAM slot locations and specs.
Step-by-step instructions for installing RAM in a desktop PC
Here's how to upgrade your memory without tools or stress—just follow these simple steps.
🔧 Step 1: Power Down and Ground Yourself
Shut down your desktop completely and unplug the power cable. I always hold the power button for 5-10 seconds after unplugging to fully discharge the motherboard. This prevents static electricity from damaging sensitive RAM components.
Touch the metal chassis of your case to ground yourself before handling anything inside. Static buildup can fry your RAM modules, even if they're new. I've seen it happen—don't skip this step.
⚡ Step 2: Locate and Remove the RAM Slot Covers
Open your case and find the RAM slots on the motherboard. They're usually near the CPU, with a white plastic clip on each slot. The slots are keyed to prevent incorrect insertion—you'll see a notch that only fits one way.
Remove the slot covers from the case's side panel. These are the small plastic plates that fill empty RAM slots. Slide them out gently—they'll pop free once you release the retaining tabs. You'll need one free slot for each new module you're installing.
💻 Step 3: Align and Insert the RAM Modules
Take your new RAM module and align it with the slot. The notch on the module must match the notch in the slot—if it doesn't, you're upside down. Push down firmly but evenly on both ends until you hear a click and feel the clips snap into place.
Don't use excessive force. If it doesn't go in smoothly, you've likely got it oriented wrong. The clips should hold the module securely—you shouldn't be able to wiggle it once installed. Repeat for additional modules, spacing them evenly across available slots.
💡 Step 4: Reassemble and Test the Installation
Replace the side panel of your case and reconnect the power cable. Boot up your system—you should hear a POST beep (usually one short beep) indicating successful memory detection. If you get no beeps or error tones, power down immediately and check your RAM installation.
Enter your system's BIOS (usually by pressing Del or F2 during boot) and verify the new RAM is detected. Look for the total installed memory value to confirm the upgrade. If Windows doesn't recognize the full capacity, restart and try reseating the modules.
Tips & tricks for perfect RAM installation without the stress
Confession: I've seen more RAM modules fried than I care to admit—mostly because people skip the basics. Here's what nobody tells you about making this upgrade foolproof.
Static Electricity is the Silent Killer: Grounding isn't just about touching the case—it's about making sure you're properly grounded before you even touch the module. I've had cases where someone touched the module first, then the case, and still got static discharge. Always touch the metal chassis before handling anything inside, and consider wearing an anti-static wrist strap if you're working in dry conditions. Between us, I've seen RAM modules spark when removed from packaging—don't make that mistake.
RAM Slot Orientation is Non-Negotiable: That notch in the slot isn't just there for decoration—it's your friend. If your module doesn't align perfectly with the first try, you're upside down. I've had students try to force it in, and the clips can bend if you're not careful. Take your time here; there's no shame in flipping the module over and trying again. The clips should snap into place with just enough pressure to make you feel confident it's secure.
POST Beep Patterns Decoded: That one short beep you hear during boot isn't just good news—it's your system's way of saying "RAM detected and working." But if you get multiple beeps or no beeps at all, don't panic. First, reseat the RAM modules (yes, even if they seemed fine). If that doesn't work, try one module at a time in different slots to isolate the issue. I've had cases where a slightly bent slot clip caused problems—gently bending it back with a butter knife can sometimes fix it.
BIOS Verification is Your Safety Net: When you enter BIOS to check your RAM, look for more than just the total memory. Check the speed and type of RAM as well—mismatched RAM can cause instability. If Windows still doesn't recognize the full capacity after BIOS shows it correctly, restart and try reseating the modules one more time. I've seen cases where a loose connection in the slot caused this exact issue, and reseating fixed it every time.
Pro Tips for Install Ram In A Desktop Pc
- Confession: I've seen more RAM modules fried than I care to admit—mostly because people skip the basics.
- Static Electricity is the Silent Killer: Grounding isn't just about touching the case—it's about making sure you're properly grounded before you even touch the module.
- RAM Slot Orientation is Non-Negotiable: That notch in the slot isn't just there for decoration—it's your friend.
Frequently asked questions
Got questions about upgrading your RAM? You’re not alone—let’s tackle the most common ones to make your upgrade smoother than ever!
Do I need to turn off my PC to install RAM?
Always power off your PC and unplug it before opening the case. Static electricity or accidental power surges can fry your RAM or motherboard. Safety first—no shortcuts!
Can I mix RAM kits with different speeds or brands?
Technically, yes, but it’s not recommended. Your PC will default to the slowest RAM speed, defeating the purpose of an upgrade. Stick to identical kits (same brand, speed, and capacity) for peak performance. Check your motherboard’s manual for supported combinations.
What if my RAM slots are already full?
If all slots are occupied, you’ll need to remove existing RAM to add new modules. Start with the oldest or slowest sticks first. Pro tip: Label them with a sticker (e.g., “Backup”) to avoid confusion later.
How do I know if the RAM is installed correctly?
After booting, check your BIOS/UEFI (press Del or _F2_ during startup) to confirm the new RAM is detected. If not, reseat the sticks or test them in different slots. Windows should also show the updated RAM in Task Manager > Performance.
Will installing RAM void my warranty?
Nope! Adding RAM is a user-serviceable upgrade and won’t void your warranty—unless you damage something (e.g., bending pins or using excessive force). Always handle components with care.
Do I need to update my BIOS before installing new RAM?
Only if your motherboard requires it for compatibility (check the manual). Most modern RAM works fine without updates, but if you’re unsure, flash the BIOS before installing. Use a USB drive and your motherboard’s tool—no need for stress!
Still stuck? Drop your question in the comments—we’re happy to help!
Wrapping up and next steps
Installing RAM in your desktop PC doesn’t have to be intimidating—with the right tools (or none at all!) and a steady hand, you’ve just unlocked a simple, tool-free upgrade that can seriously boost your system’s performance.
Whether you’re gaming, multitasking, or just future-proofing your rig, this stress-free process proves that tech upgrades can be empowering and rewarding.
Now that you’re RAM-savvy, why stop here? Take the next step: benchmark your new setup with tools like CPU-Z or Geekbench to see those speed gains in action! 🚀