
PowerPoint
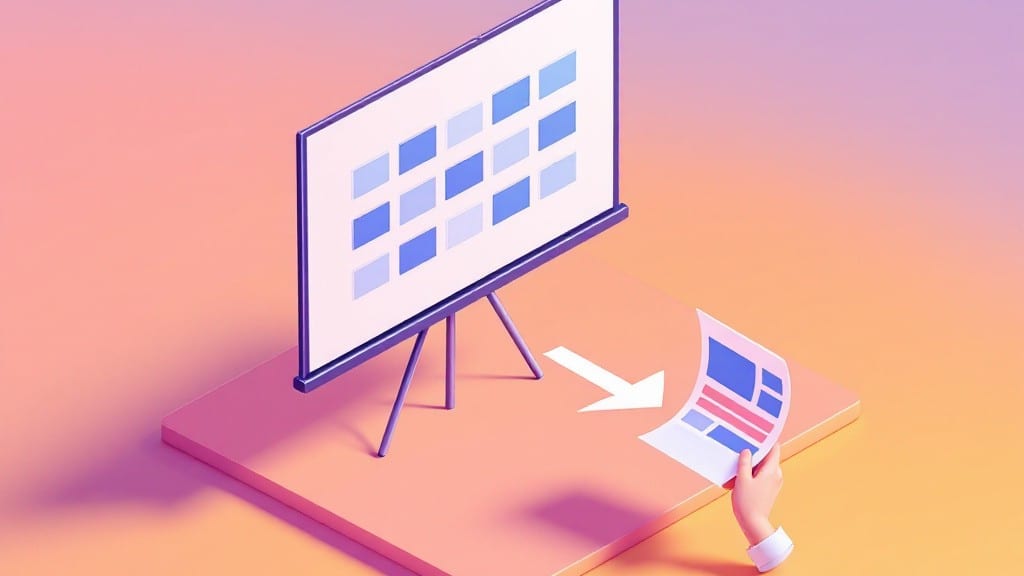
Creating PowerPoint handouts used to feel like a guessing game—until I discovered the handout master view hidden in every presentation. ⚡ That single feature turns your slides into professional printouts with speaker notes, multiple slides per page, or even blank pages for scribbles, all in under five minutes.
The trick is knowing where to look and how to customize it without breaking your design.
Here’s the secret: PowerPoint’s handout layout options (2, 3, or 4 slides per page) live in the Print Layout view, accessible via Ctrl+Shift+H (Windows) or Cmd+Shift+H (Mac). I’ve used this shortcut for years—it’s the fastest way to toggle between slide and handout modes without losing your place.
For speaker notes, just check the box labeled “Notes” in the handout setup dialog, and your printed pages will include everything you scribbled during rehearsals.
You’ll end up with handouts that match your presentation’s design, save ink by fitting more slides per page, and even include blank space for audience questions. The best part? These settings stick to your handout master, so every printout after the first one applies your preferred layout automatically.
No more fumbling with print dialogs or mismatched slide counts.
Works across Office 365, 2019, and 2016—just watch for the “Print Layout” menu label, which moves slightly between versions. For accessibility, bump the font size in the handout master before printing, and you’re golden. Let’s make those handouts look as polished as your slides.
📚 In This Guide
- What you need
- Instructions
- Tips and common mistakes
- Wrapping up and next steps
What you need
- ● Microsoft PowerPoint (2010 or later) – Ensure you have the latest version for full handout features. Free alternative: Google Slides or LibreOffice Impress.
- ● Computer or laptop – Windows, Mac, or Chromebook with PowerPoint installed.
- ● Presentation content ready – Slides with text, images, or data you want to convert into handouts.
- ○ Printer (optional but helpful) – If printing physical copies, ensure it’s compatible with your file format (PDF or PowerPoint handout layout).
- ● Design templates – Pre-made PowerPoint themes for a polished look (e.g., Microsoft’s built-in designs or Canva templates).
- ● High-resolution images – For crisp prints or digital sharing (minimum 300 DPI recommended).
- ● PDF converter – Tools like Adobe Acrobat or free online converters to save handouts as PDFs for easy distribution.
- ● Digital sharing platform – Google Drive, Dropbox, or email for sharing handouts electronically.
Step-by-Step instructions for designing professional PowerPoint handouts
Here’s how to transform slides into polished handouts that reinforce your presentation.
🔧 Step 1: Prepare Your Presentation for Handout Conversion
Open your PowerPoint file and select File, then Print. In the print preview, choose Handouts from the dropdown menu. This ensures your slides will be formatted correctly for distribution.
I always recommend setting the Handouts per page to 3 slides per page for most presentations—this balances space efficiency with readability. For detailed content, 6 slides per page works well, but test what fits best on your printer’s paper size.
Verify the Slide order matches your presentation flow. If you’ve rearranged slides, double-check here to avoid confusing attendees with out-of-sequence handouts.
🖱️ Step 2: Customize Layout and Design Elements
Click Print Layout to access handout-specific options. Here, you can adjust margins, headers/footers, and slide orientation. For professional handouts, I always enable Headers and Footers to include your logo, date, or presentation title.
Use the Design tab to apply a consistent color scheme or font style. If your presentation uses a specific brand palette, match it here for cohesive handouts. Avoid overly complex backgrounds—they print poorly and distract from content.
For speaker notes, select Notes Page in the print options. This adds a separate page with your speaker notes below each slide, ideal for presenters who need reminders during delivery.
🖥️ Step 3: Export or Print Your Handouts
Choose your output method: Print for physical copies or Save as PDF for digital distribution. For physical prints, select Color or Grayscale based on your needs—color is ideal for branded materials, while grayscale saves on costs.
Before printing, click Print Preview to confirm layout and alignment. Check for cropped text or images, especially if using 6 slides per page. Adjust margins if needed to ensure all content is visible.
For digital handouts, save as a PDF and upload to a shared platform like Google Drive or your organization’s intranet. This ensures recipients can access the materials without formatting issues.
💡 Step 4: Enhance with Additional Elements (Optional)
To add extra value, include a cover page with presentation details or a table of contents slide. Insert these manually before exporting by adding new slides at the beginning of your deck.
For interactive handouts, embed a QR code linking to your presentation or supplementary materials. Tools like QR Code Generator make this quick and easy—just add the code as an image to your cover slide.
Finally, consider adding a resources page at the end with links to websites, contact information, or follow-up documents. This turns your handouts into a standalone reference tool.
Tips & tricks for perfect PowerPoint handouts
Here's what nobody tells you about creating handouts that actually enhance your presentation instead of distracting from it.
Layout Optimization: In Step 1, when choosing between 3 or 6 slides per page, consider your audience's attention span. For executive presentations, I've found 3 slides per page works best—it gives presenters enough space to add handwritten notes in the margins during delivery. For technical deep dives, 6 slides per page lets you include more detailed content without overwhelming the audience. Always preview how text will scale by printing a test page first.
Design Consistency: The Design tab in Step 2 is where most handouts fail. I recommend creating a custom template with your company's exact brand colors and fonts before starting. This ensures every handout matches your presentation deck visually. Pro tip: Save this template as a separate file so you can reuse it for future presentations without recreating the formatting.
Print Preview Strategy: Before finalizing your handouts in Step 3, I can't stress enough how important the Print Preview step is. This is where you'll catch cropped text, misaligned images, or unexpected layout shifts. Pay special attention to how your headers/footers appear on every page—sometimes they get cut off when you switch from portrait to landscape orientation. I always print a sample page to check the physical output matches what I see on screen.
Digital Distribution: When saving as PDF in Step 3, use the "High Quality Print" setting instead of "Smallest File Size" for digital distribution. This preserves image quality and text sharpness when viewed on screens. For interactive handouts, consider adding hyperlinks to your PDF—you can link to specific slides or external resources directly from the handout pages.
Pro Tips for Create Handouts In Powerpoint
- Here's what nobody tells you about creating handouts that actually enhance your presentation instead of distracting from it.
- Layout Optimization: In Step 1, when choosing between 3 or 6 slides per page, consider your audience's attention span.
- Design Consistency: The Design tab in Step 2 is where most handouts fail.
Frequently asked questions
Got questions about creating handouts in PowerPoint? You’re not alone! Here are answers to the most common concerns—from quick fixes to pro tips—to help you craft polished, professional handouts effortlessly.
Can I create handouts directly from my existing PowerPoint slides?
PowerPoint’s built-in Handout Master lets you convert slides into handouts in seconds. Just go to File > Print > Handouts, choose your layout (e.g., 2, 3, 4, or 6 slides per page), and hit Print. For digital handouts, save as a PDF or export as images.
How long does it take to design handouts from scratch?
Speed depends on complexity! A simple 10-slide presentation with minimal edits can take 5–10 minutes using templates or the Handout Master. For custom designs (e.g., adding speaker notes or branding), budget 20–30 minutes. Pro tip: Reuse slide layouts to cut time in half.
What’s the best way to print handouts if my printer won’t cooperate?
If your printer struggles with PowerPoint’s handout settings, try these fixes:
- Save as PDF first: Export to PDF (File > Export > Create PDF/XPS) and print from Adobe Acrobat for better control.
- Use a virtual PDF printer: Tools like Microsoft Print to PDF or CutePDF bypass printer issues.
- Check margins: In PowerPoint, go to Design > Page Setup and ensure margins aren’t set to Narrow.
Are there better alternatives to PowerPoint for handouts?
Yes! If you need more flexibility, consider:
- Canva: Drag-and-drop templates with customizable layouts (free & paid plans).
- Google Slides: Export as PDF or use Print > Handouts (similar to PowerPoint).
- Adobe InDesign: For advanced designers who want pixel-perfect control.
Why do my handouts look blurry or pixelated when printed?
Blurry prints usually stem from low resolution. Fix it by:
- Ensuring images/slides are at least 300 DPI (check via Format > Image > Compress Pictures).
- Using vector-based elements (shapes, icons) instead of raster images.
- Printing as a PDF (higher quality than direct printer output).
Wrapping up and next steps
Creating effective PowerPoint handouts is all about clarity, design, and purpose—whether you're prepping for a workshop, presentation, or training session. By following these steps, you’ve learned how to organize content strategically, design for readability, and distribute with impact.
Now, you’re ready to turn your ideas into polished, professional resources that engage your audience and keep them informed.
🚀 Next step: Practice with a real project! Start by converting one of your existing slides into a handout—experiment with layouts, colors, and distribution methods. The more you create, the more confident (and creative) you’ll become. You’ve got this! 💡